Zhengzhou, Henan Province, China
Now Contact: Do you need PU/EPS/Rock Wool sandwich panels?
Zhengzhou, Henan Province, China
Now Contact: Do you need PU/EPS/Rock Wool sandwich panels?
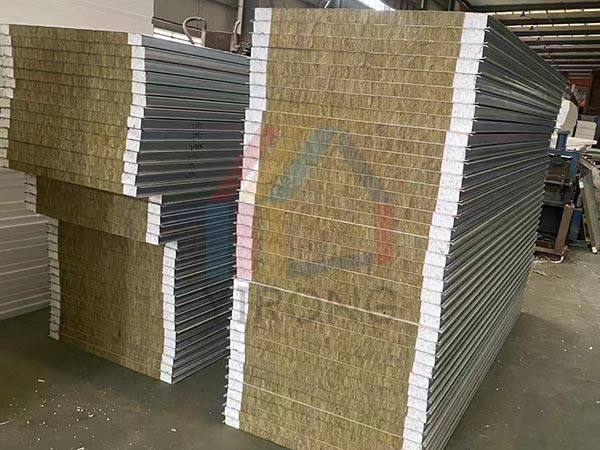
Installing polyurethane edge rock wool panels requires careful planning and execution to ensure proper insulation and structural integrity. Follow these steps for a successful installation:
Tools: Measuring tape, Level, Utility knife or panel cutter, Drill and drill bits, Screwdriver, Sealant gun, Safety gear (gloves, goggles, dust mask).
Materials: Polyurethane edge rock wool panels, Fasteners (screws or bolts), Sealant (compatible with polyurethane and rock wool), Edge trims (if applicable).

1. Site Preparation
Clean the Area: Ensure the installation area is free of debris, dirt, and moisture. Inspect the Structure: Verify that the surface where panels will be installed is level and structurally sound.
2. Measurement and Layout
Measure the Area: Use a measuring tape to determine the dimensions of the area to be covered. Plan Panel Layout: Mark the layout on the surface, considering panel sizes and joints to minimize waste and ensure a proper fit.
3. Cutting Panels
Cut Panels to Size: If necessary, use a utility knife or panel cutter to cut panels to the desired dimensions. Ensure clean, straight cuts for a snug fit.
4. Positioning Panels
Start at the Bottom: Begin installation from the bottom of the wall or roof, working your way up. Align Panels: Position the first panel in line with your markings, ensuring it is level and properly aligned.
5. Fastening Panels
Secure the Panel: Use appropriate fasteners to attach the panel to the structural framework. Ensure fasteners are placed at specified intervals (usually at least every 600mm). Check Level: After securing, use a level to confirm the panel is straight. Adjust if necessary before proceeding.
6. Sealing Joints
Apply Sealant: Use a sealant gun to apply sealant along the joints between panels to prevent air and moisture infiltration. Press Panels Together: Ensure adjacent panels fit snugly together for optimal insulation.
7. Additional Panels
Repeat the Process: Continue installing additional panels, ensuring alignment and securing each one properly. Stagger Joints: If installing multiple rows, stagger the joints for added strength and stability.
8. Finishing Touches
Install Edge Trims: If applicable, install edge trims to cover any exposed edges and enhance aesthetics. Final Inspection: Inspect all panels for secure fastening and proper sealing. Make adjustments as needed.
9. Cleanup
Remove Debris: Clear away any excess materials and debris from the installation site. Dispose of Waste: Dispose of any waste materials according to local regulations.
By following these steps, you can effectively install polyurethane edge rock wool panels, ensuring proper insulation and structural integrity. Always adhere to safety guidelines and manufacturer instructions for the best results. If you're unsure about any part of the installation process, consider consulting with Yirong Sandwich Panel Supplier.