Zhengzhou, Henan Province, China
Now Contact: Do you need PU/EPS/Rock Wool sandwich panels?
Zhengzhou, Henan Province, China
Now Contact: Do you need PU/EPS/Rock Wool sandwich panels?
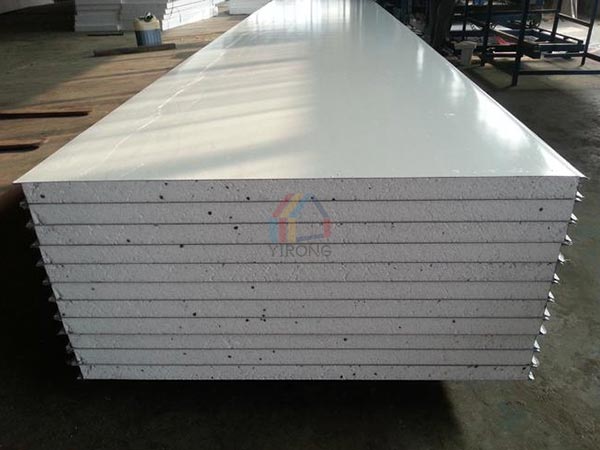
In the field of modern construction, thermal insulation and heat insulation performance are increasingly valued, and polystyrene sandwich panels are popular due to their excellent thermal insulation performance and light weight. The following will introduce the installation steps and tips for polystyrene sandwich wall panels in detail.
1. Preparation before installation
Before installing polystyrene sandwich wall panels, we need to make adequate preparations. First, prepare the required tools and materials, including wall panels, saws, rulers, screwdrivers, screws, adhesives, etc. Make sure all tools are complete and in good condition for smooth installation. Secondly, clean the wall to ensure that the wall is flat, dry, free of dust and oil. If there are unevenness or stains on the wall, it will affect the installation effect and thermal insulation performance of the wall panel. Finally, according to the size and shape of the wall, calculate the required number and size of wall panels, mark and cut them.

2. Installation steps
Spring line and positioning: First, according to the floor elevation level, use a ruler and a level to pop up a horizontal line on the wall to determine the installation position and height of the wall panel. At the same time, according to the design requirements, the keel position line is popped up on the wall for subsequent installation of the keel.
Install the keel: The keel is the basis for the installation of the wall panel, and its installation quality directly affects the stability and flatness of the wall panel. When installing the keel, it should be installed according to the position line that has been popped up to ensure that the keel spacing is uniform and the position is accurate. At the same time, the keel should be fixed to the wall with suitable expansion bolts to ensure that it is firm and reliable.
Apply adhesive: Apply adhesive evenly on the back of the wall panel, and be careful not to apply too much or too little. Too much adhesive will cause gaps or bubbles between the wall panels, affecting the thermal insulation performance; too little adhesive will cause the wall panel to be loosely bonded to the keel, and it is easy to fall off.
Install the wall panel: Install the wall panel with adhesive applied according to the pre-marked position. During the installation process, pay attention to the symmetry and flatness of the wall panel to ensure the flatness and beauty of the overall wall. At the same time, use a screwdriver or special clamp to fix the wall panel to the keel to ensure that the wall panel is firm and stable.
Splicing wall panels: When installing the next wall panel, pay attention to splicing with the installed wall panels. When splicing, make sure that the gap between the wall panels is as small as possible to avoid obvious gaps or misalignment. At the same time, use special clamps or screwdrivers to fix the wall panels at the joints to the keel to ensure the stability and flatness of the overall wall surface.
Cleaning and trimming: After installing all the wall panels, clean and trim the wall surface. When cleaning, use a clean rag or vacuum cleaner to remove dust and debris on the surface of the wall panels; when trimming, use special tools to trim the edges of the wall panels to make them more flat and beautiful.
3. Precautions
In actual applications, we also need to flexibly adjust and optimize according to specific conditions and requirements to ensure that the installation quality and thermal insulation performance of the wall panels are in the best state.